How to photograph wildlife silhouettes
Silhouettes of nature can be simple yet impactful. In this article Nick guides us through the techniques for maximum success.
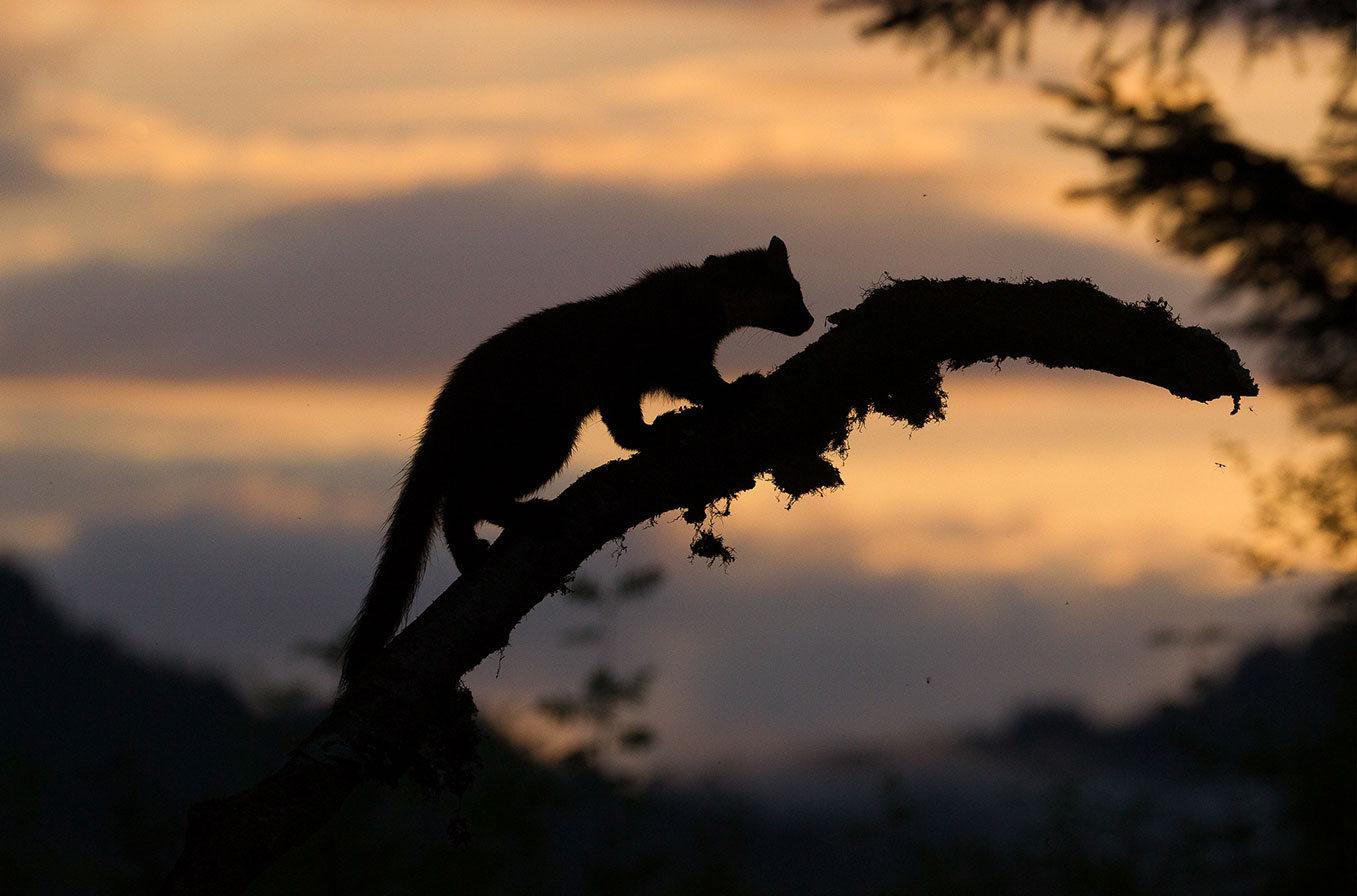
With the sun below the horizon and light all but gone, my companions stopped photographing in the highland cottage garden. With a hint of colour in the sky though I knew that there was still one more shot to try for. Carefully placing food on a branch, I set the camera in a dip in the lawn where the branch would line up with the coloured sky. Adjusting the settings in the camera to ensure a silhouette (more on how later) I crossed my fingers. Minutes later the image was in the bag and I was a very happy man with some very jealous companions!
Wild Pine Marten - Scottish Highlands
Silhouettes of nature can be simple yet also impactful. It is a highly effective way of ensuring a striking image with an artistic quality. Knowing how to create one should be in every photographers arsenal. Silhouettes are the results of positioning in the field combining with settings within the camera. It's not that hard and in this article I show examples and explain how they were made.
The right conditions
Silhouettes occur when there is significant contrast between the subject and its background. This can occur more than you might think with birds flying against a pale sky a common example. Snow is another example or water but even pale fields or buildings could provide contrast against dark subjects.
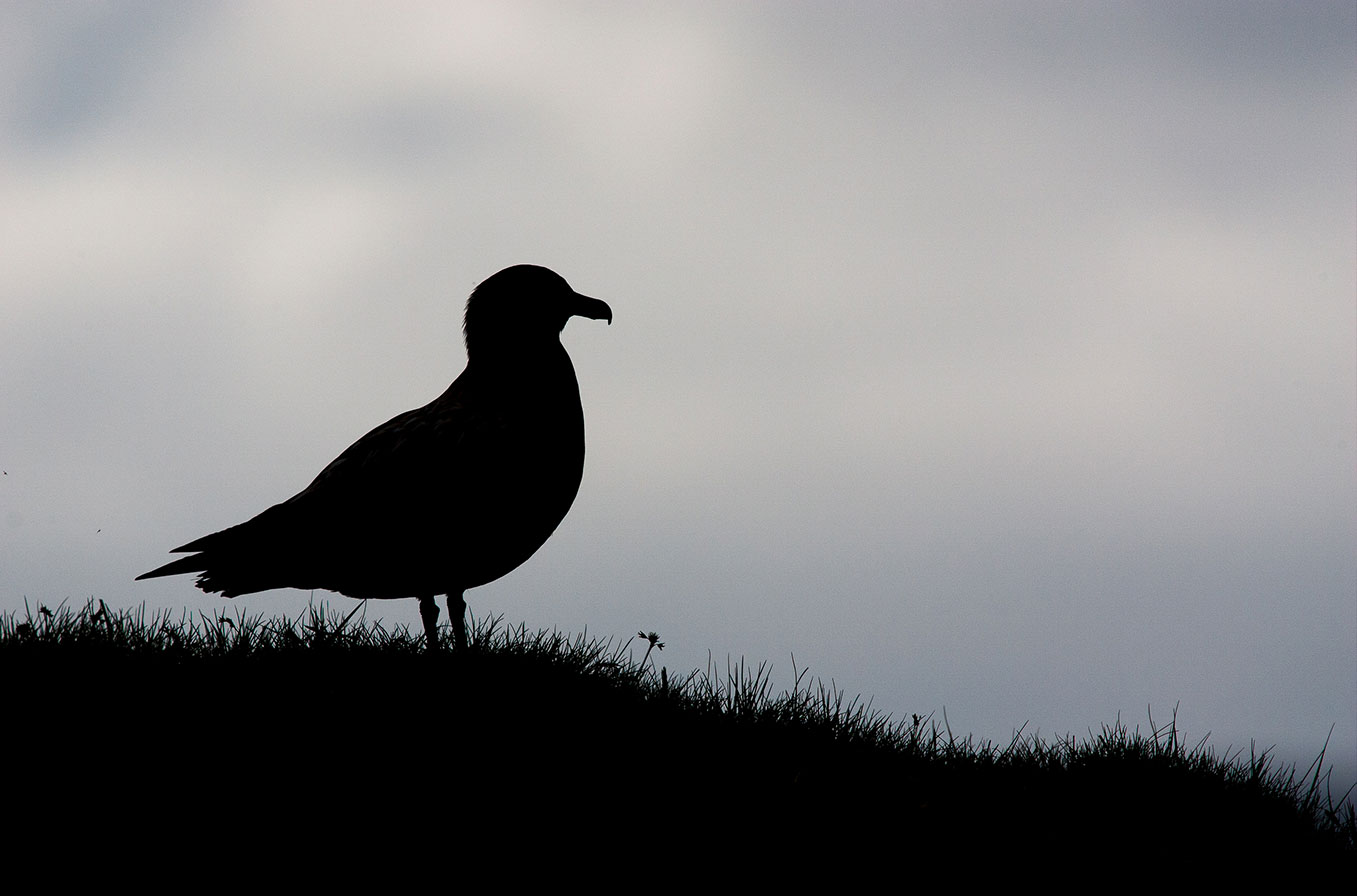
Great skua - The light was poor photographing this great skua but by using the pale sky and distinctive shape of the bird a pleasing image resulted.
Positioning
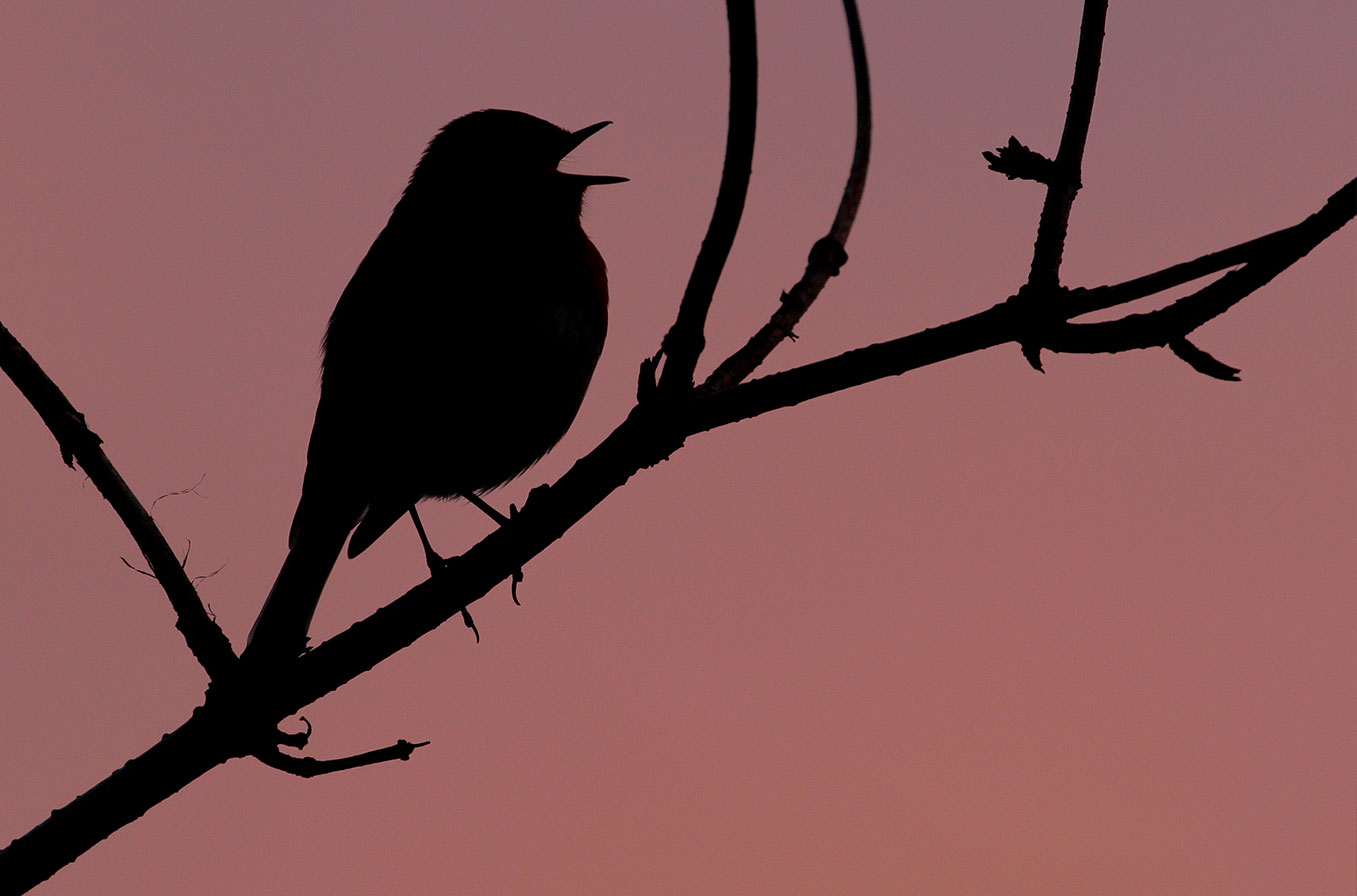
Occasionally subjects will always be against a suitable backdrop however it's sometimes necessary to adjust your own angle to ensure the alignment is correct. I had to do that with the marten and again with this robin as clouds meant that only a small section of the sky was pink.
Robin - I spotted this robin singing one evening and when I noted the small section of pink sky I saw the opportunity for this image. I still had to stand in some bramble to get it but it was worth the scratches!
Camera settings
A silhouette is essentially the result of the image being greatly under exposed for the subject. The lens has not opened a large enough aperture or a slow enough shutter speed for the conditions. This can happen with auto exposure because the background is very light and the camera is fooled into thinking that the scene is brightly lit. We all suffer accidental silhouettes when photographing birds against a pale sky and it is one of the few downsides of auto exposure. However understanding this means that creating a deliberate silhouette can be created in the same way.
Most digital SLRs (single lens reflex cameras) will allow the user to quickly 'dial up or down' the exposure and this is measured in stops. It's usually possible with a quick roll of the thumb or pressing a couple of buttons to over or under expose by a series of 1/3 stops. In the case of a silhouette you want to dial down the exposure by underexposing by 1 or more stops.
The robin above was already slightly underexposed by the auto exposure feature of the camera but I dialled it down a further three stops to ensure a silhouette was achieved. In total it was -5 stops below correct exposure for the bird. It may take trial and error as to how much to adjust by so worth taking a few at different settings to get the one that is best. If you are not sure how this works in your camera, dig out the manual and look for exposure adjustment.
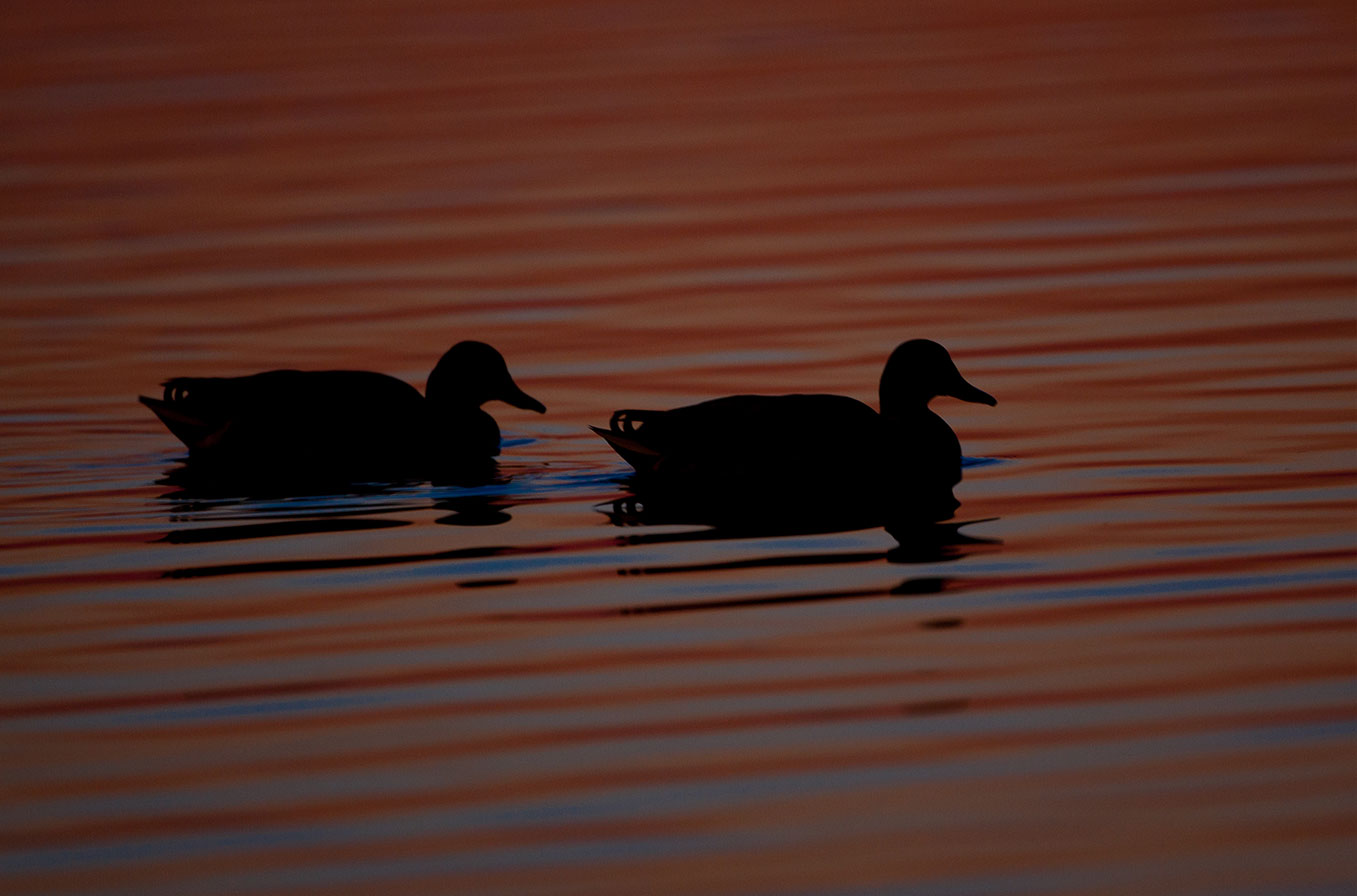
Mallard - The colour in the sky at dusk and dawn can often provide the loveliest warm backgrounds. The poor light levels can also mean that they are the best option as, by their nature, silhouettes require less light than 'normal photography'.
Enhancing the image further
It is possible to further enhance the effect of a silhouette in software on the computer. Increasing contrast, reducing exposure or making the darks darker the difference between the subject and background can be exaggerated. It is also possible to use enhanced saturation to deepen colour but be careful to exercise restraint as dayglo pinks and oranges will never look natural!
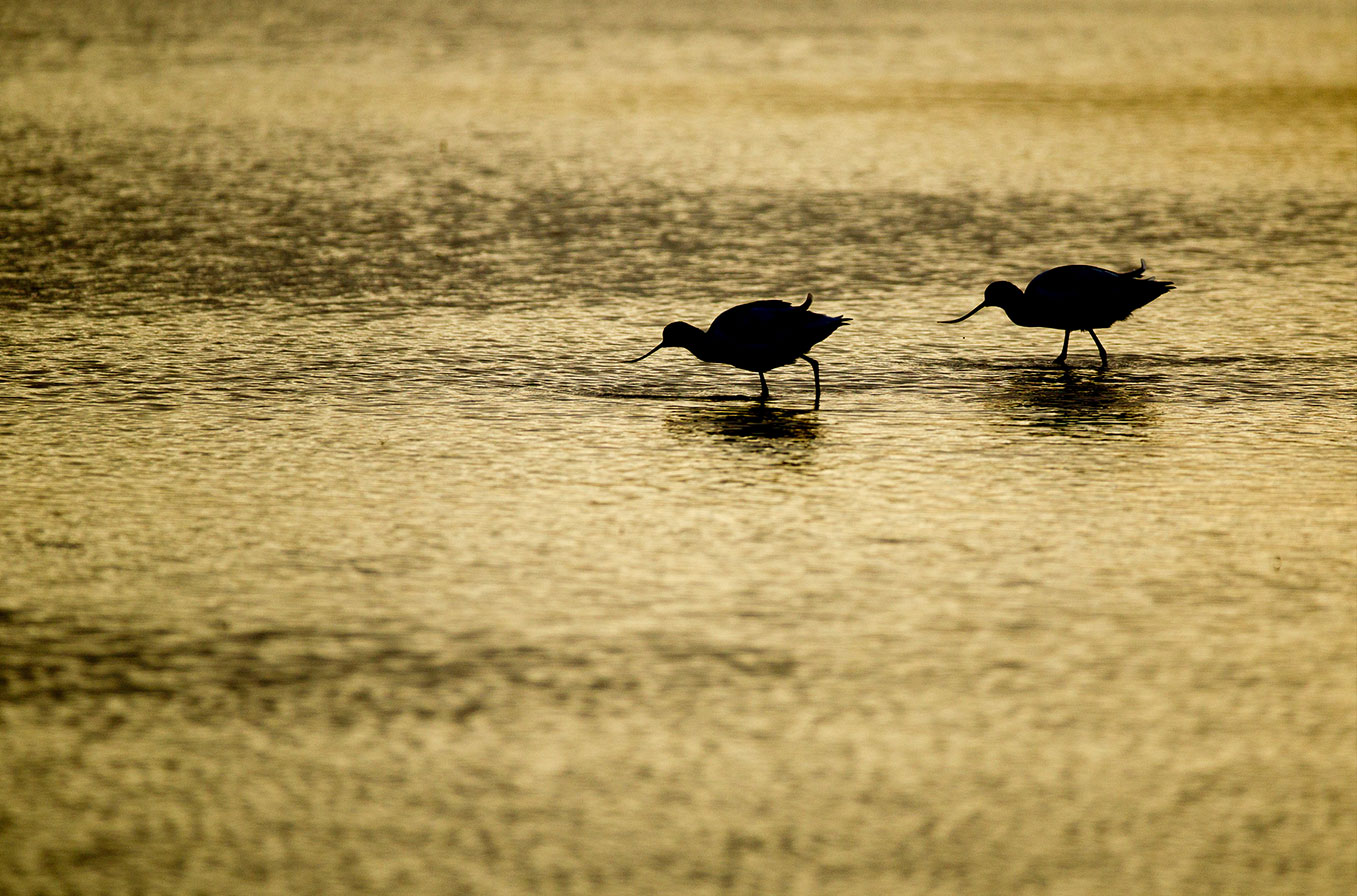
Avocet - Tweaking the darks and boosting the saturation of this avocet image exaggerated the distinctive shape of these iconic birds.
Practice makes perfect
As with many photographic techniques, practice will improve your chances of creating a wonderful silhouette. Static subjects can be great for playing around with and trying different settings and compositions.
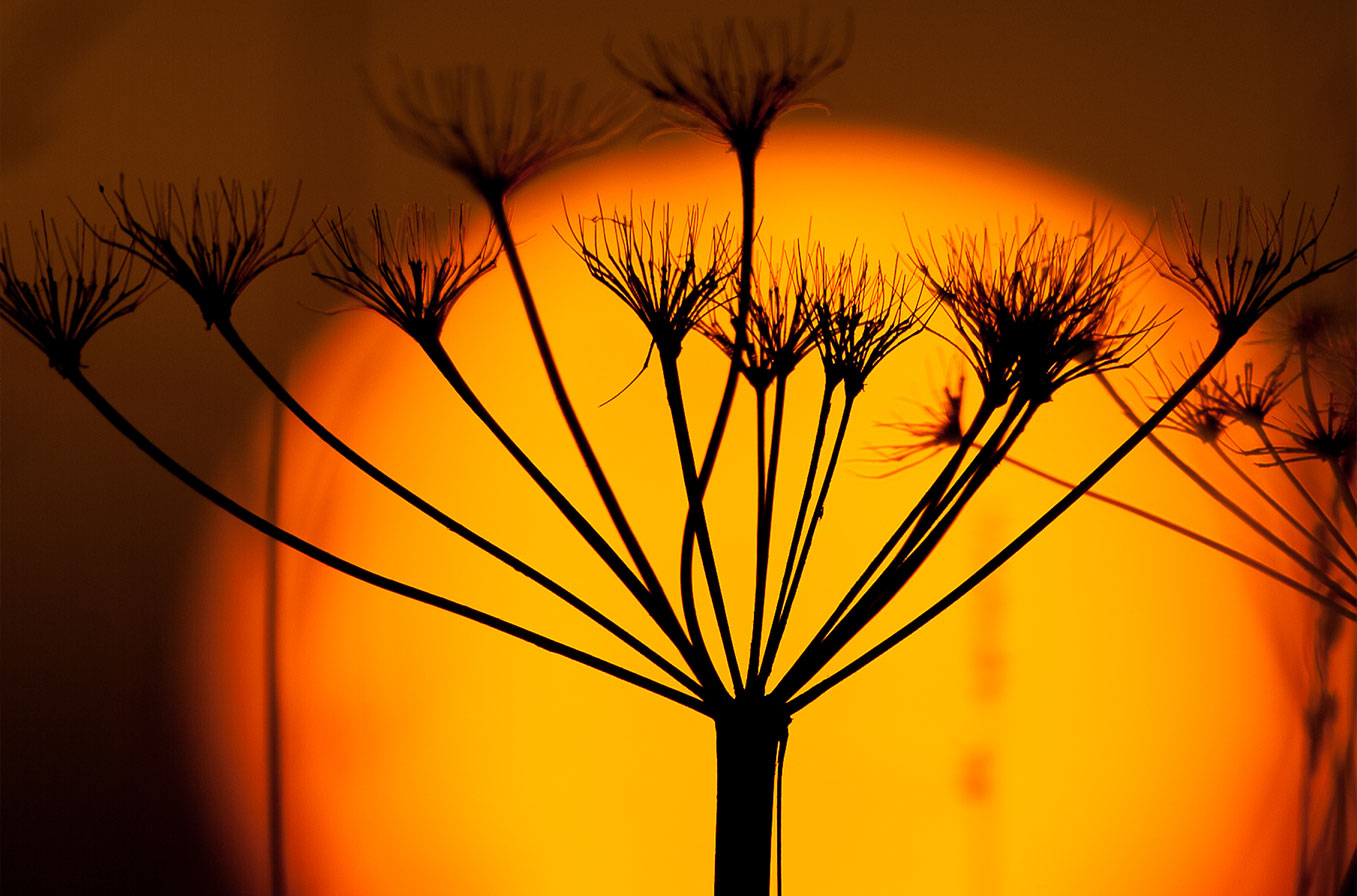
Flower head - Practice on plants, trees, buildings, anything that has an interesting shape as a silhouette.
Top tip
Silhouettes work well for species that have a distinctive shape or are interesting in their form. They are less strong where the key features (eg beak) is not shown so wait for the right profile.
