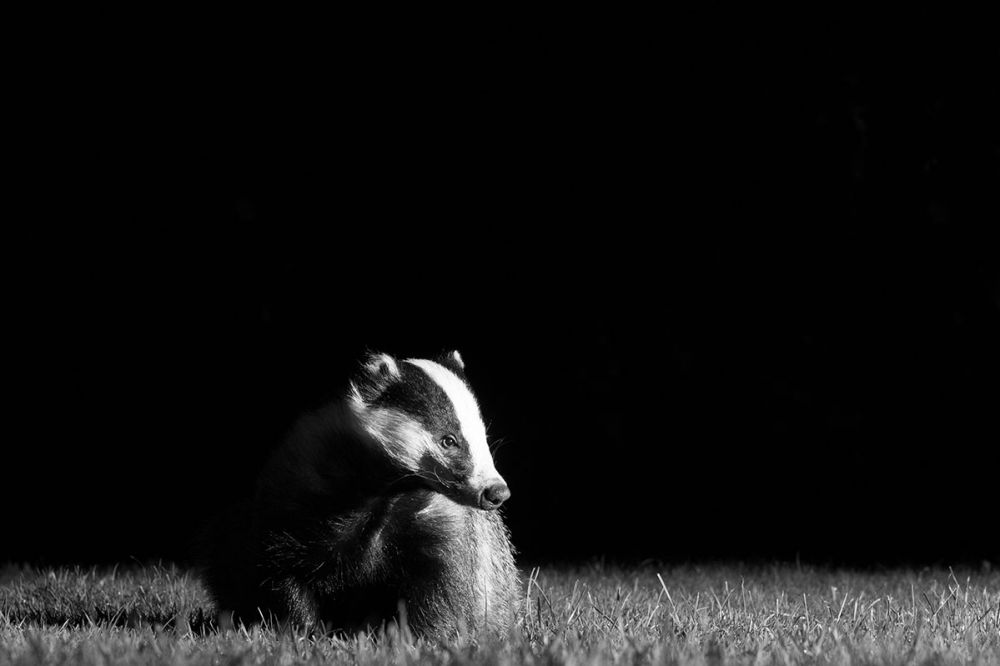
How I got the shot….garden badger
A step by step guide to how this image was captured in a wildlife photographers garden
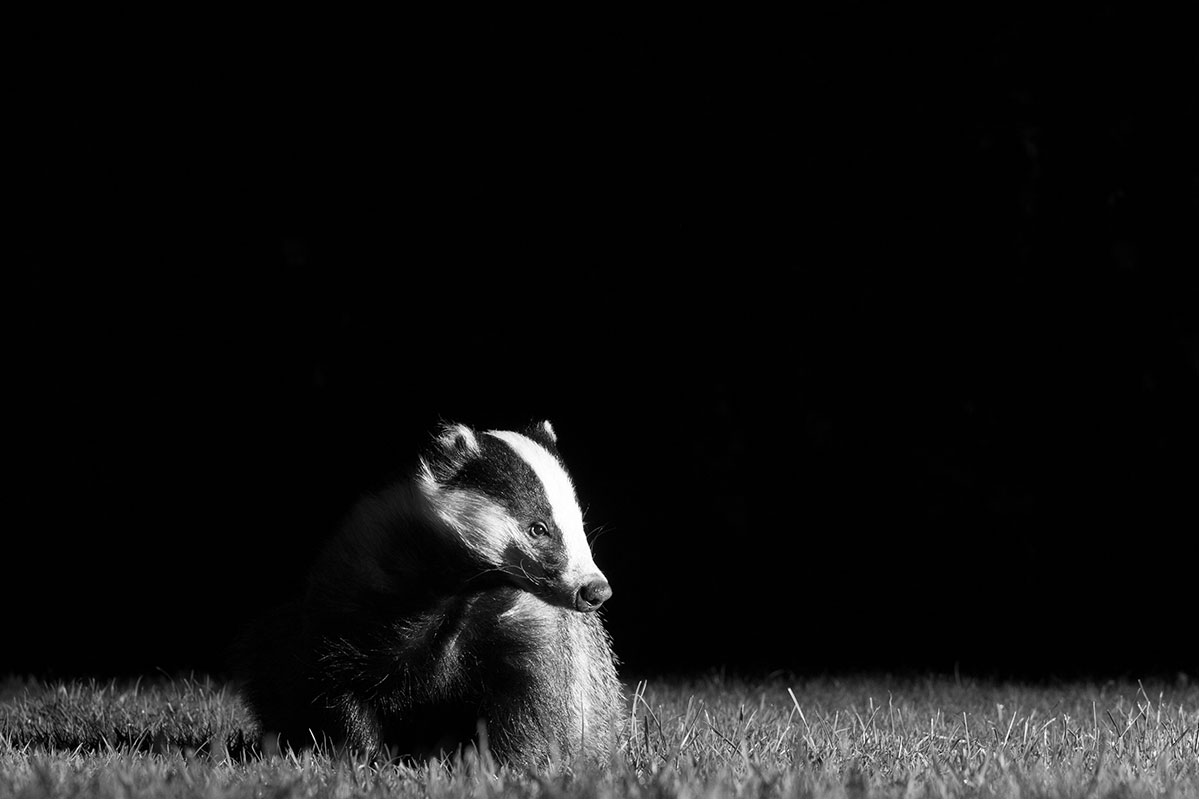
I like this shot for it’s simplicity, the badger and just a load of darkness works well for me. As with many wildlife images the best ones are pre-planned with an idea of what the end form will look like. This was no exception and it is quite close to the image I had in mind and set out to create.
Imagining the image is the first step before considering the steps to success.
I had had this male badger visiting the garden few a few months and a few peanuts each evening ensured that my garden was part of his nightly route. I had photographed him from my daughters play house a couple of times with some success but this time decided to use a remote set up so that I could have the camera exactly where I wanted it and not have to compromise on position. I set the camera with a 70-200mm F2.8 lens at full reach enabling me to have a reasonable space between the camera and the subject. I usually use a tripod even with this fast lens but in this instance I found that a beanbag was more convenient whilst being equally stable.
The camera was then fitted with a wireless shutter release so I could operate it from the kitchen window in comfort. An outside patio light meant that I could see the badger and work out when to press the release. In order to get the badger where I wanted I placed a generous handful of nuts on the lawn and a trail of single nuts to lead him to them, it was quite important to have the trail of nuts to slow down his approach, why will be explained later. There was no chance of him running out of appetite as badgers always finish their dinner!
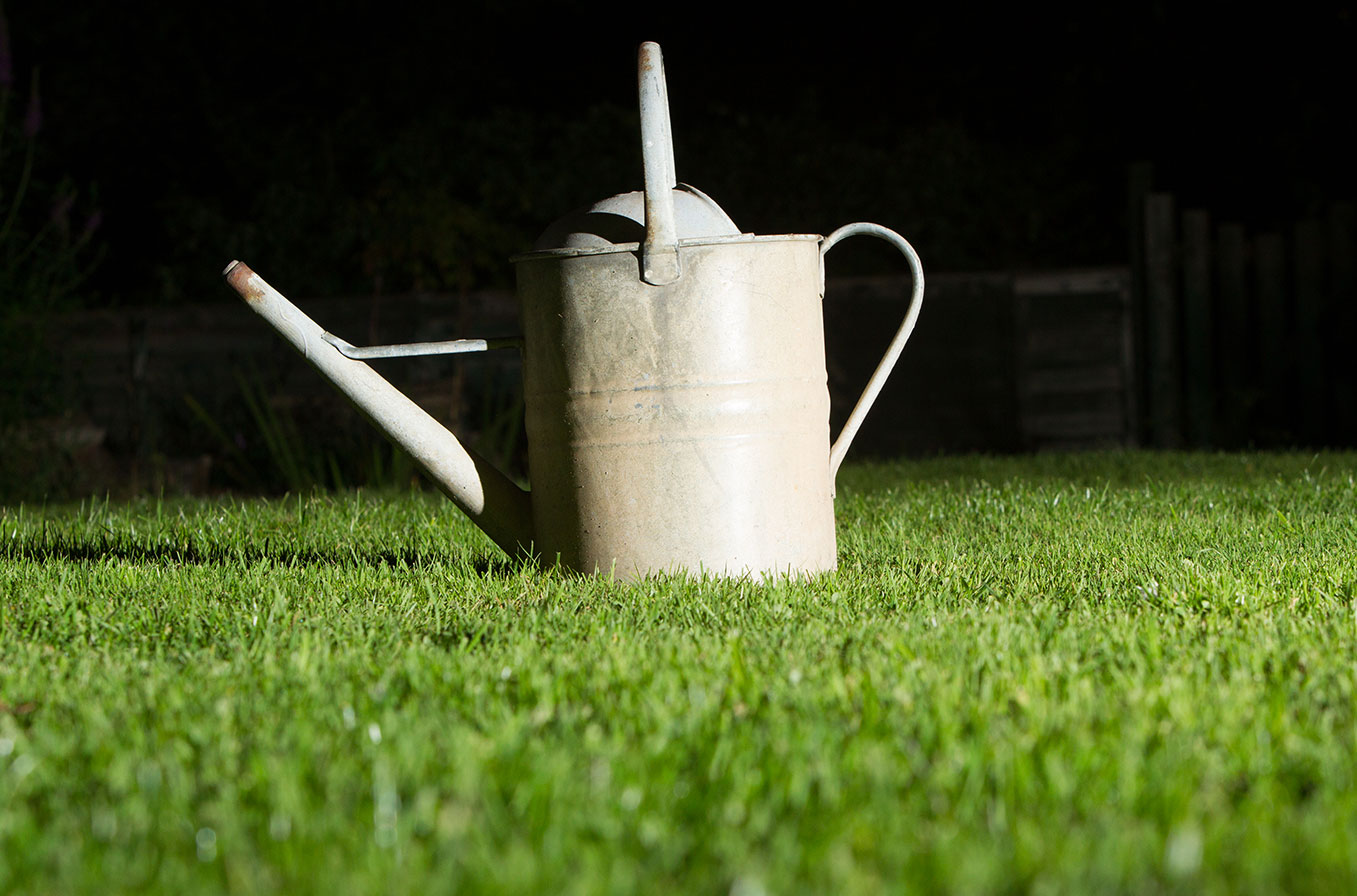
By placing the nuts where I wanted I could then preset the focus, I placed a similar sized watering can over the spot and then focussed on that. It is always helpful of course to check on how the subject might look in the frame and whether the proportions and background are right. The watering can looked pretty good though not as good as a badger I’m sure you’ll agree! A few test shots enabled me to fine tune the settings and sort out the lighting.
Testing the shot with this watering can showed me that I had too much grass in the shot and also some of the flash was ‘leaking’ through to the background.
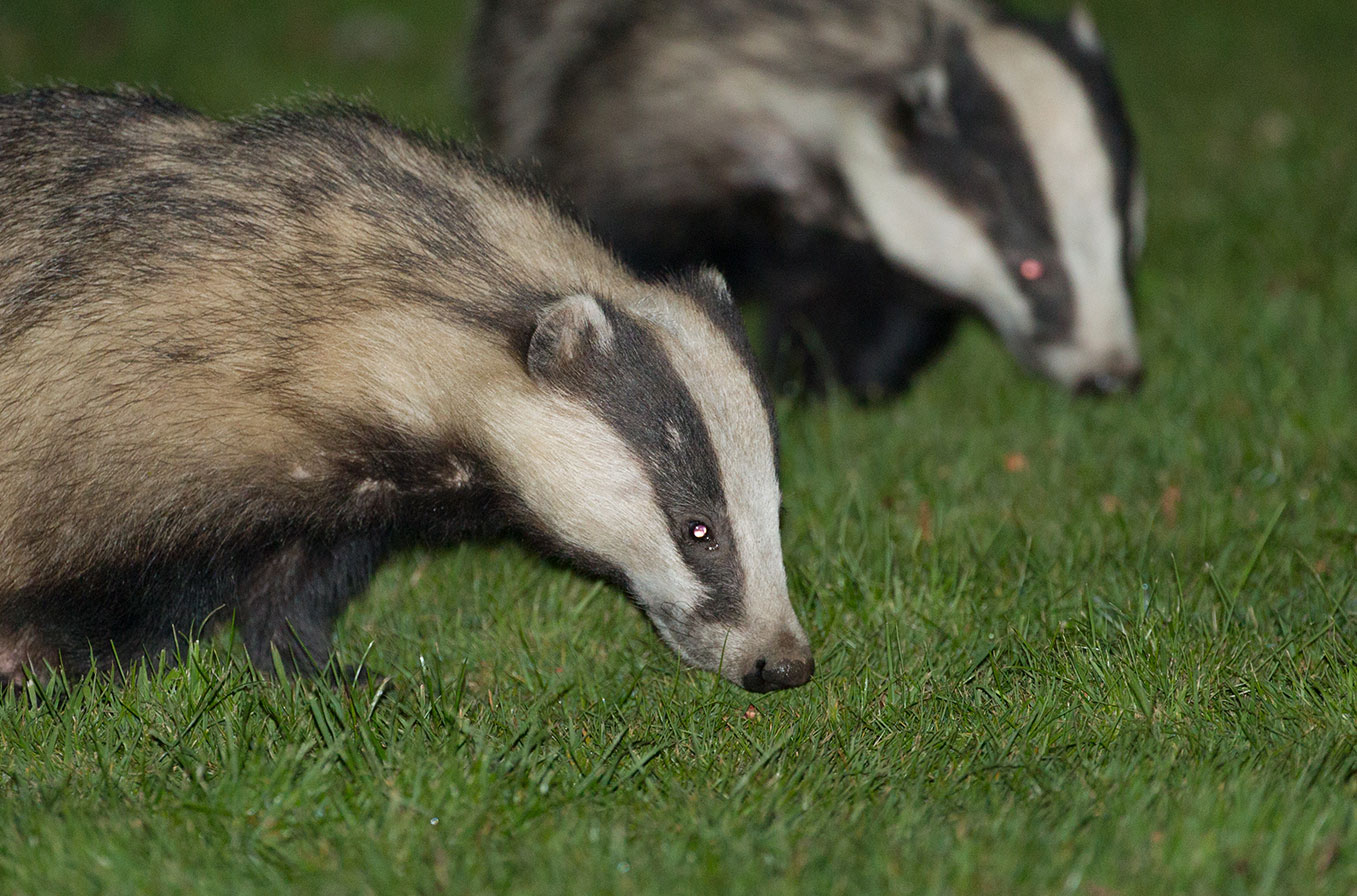
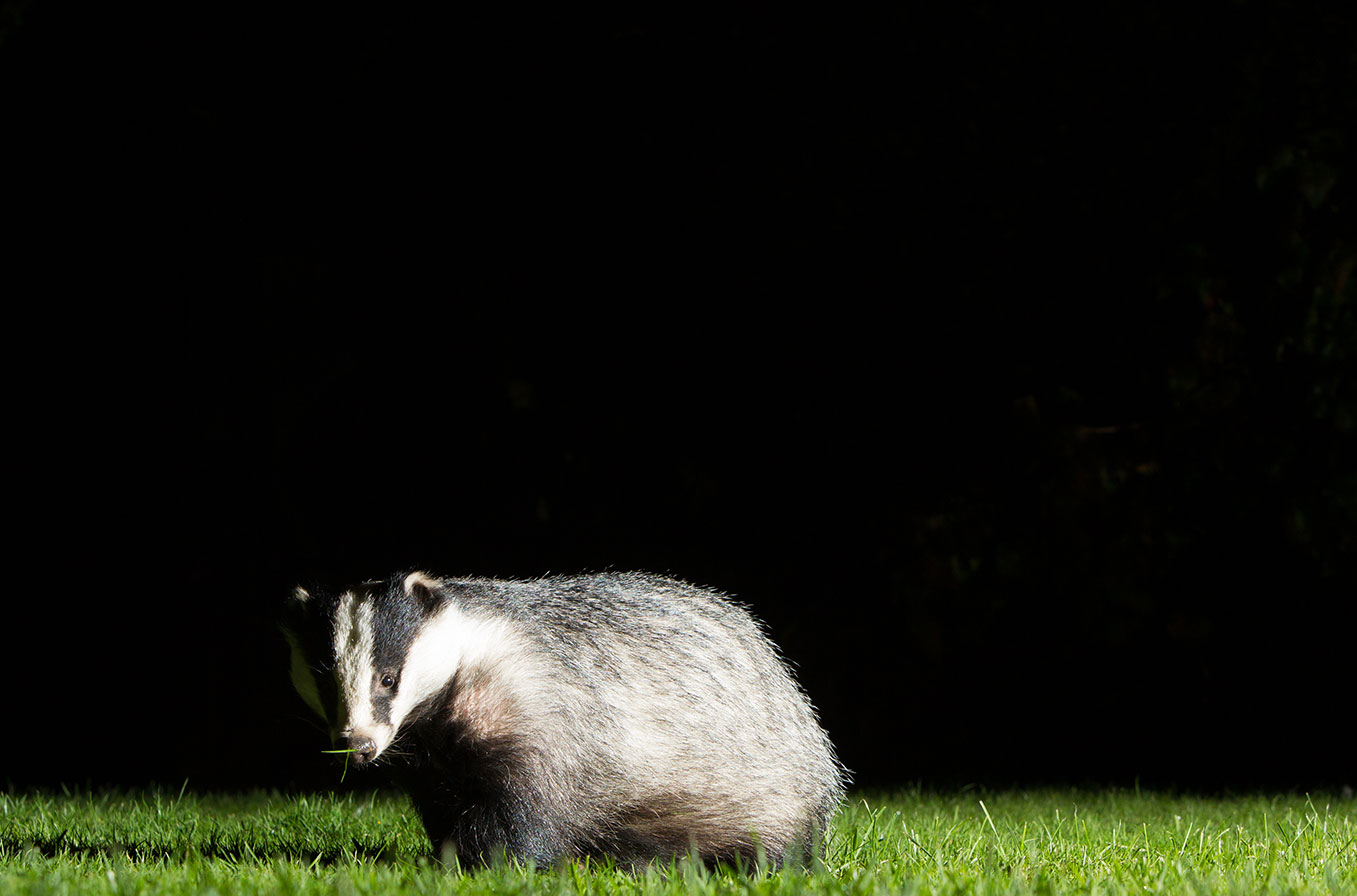
A night-time shot like this was always going to require flash, even with high iso’s and the patio light there is no way I would have achieved enough shutter speed for a clean image. The flashgun mounted on or near the camera would always result in red eye or strangely in many nocturnal animals green eye. So I had to mount the flash well away from the camera body. Another remote was therefore required and fixed to the hotshot of the camera. The flashgun was mounted on a tripod by way of a spare camera body and set some way away at right angles to the line of the photograph. This meant that the effect would be of side lighting that I hoped would work well. By screening one side of the flash with vegetation too I was able to ensure that it wouldn't light the background and this way lost any distracting features such as the huge trampoline! A few more test shots to ensure just the right amount of flash and we were good to go.
Once the badger had entered the garden I allowed him to find the first of the nuts in the trail some way away and took a shot. As you can imagine the flash and shutter sound made him sit up and take notice. However as the first of the peanuts was well away from the camera the noise was lessened and not enough for him to take fright. Motivated by the trail of nuts the badger came closer and I continued to fire shots when he seemed relaxed and feeding. Very soon he was completely habituated to the sounds and flash and by the time he reached the pile of nuts I was at ease to take shots as and when I wanted with no reaction to him at all. In fact this can sometimes be a problem with wildlife that is relaxed and intent on feeding, they never look up!
In the end a light tap on the window was required for him to pose albeit briefly and the shot was in the bag. I took quite a few whilst he was in the garden as even slight changes of positioning can have a great impact on the focus so worth trying many shots. Once he had finished his breakfast and headed off into the dark I was able to excitedly retrieve the camera and check the images. It’s a wonderful feeling to flick through the images on the camera and see the one that you know is a winner as in this case.
Once on the computer I cropped the image slightly to position him to the left looking into the space, I like this as a style and for me it makes a more pleasing composition. I also converted the shot to monochrome as the bright green grass added nothing to the otherwise black and white subject.
An original idea and a few steps to get this shot but I think that this makes it all the more worthwhile and rewarding. I hope that you enjoyed this how I got the shot.
